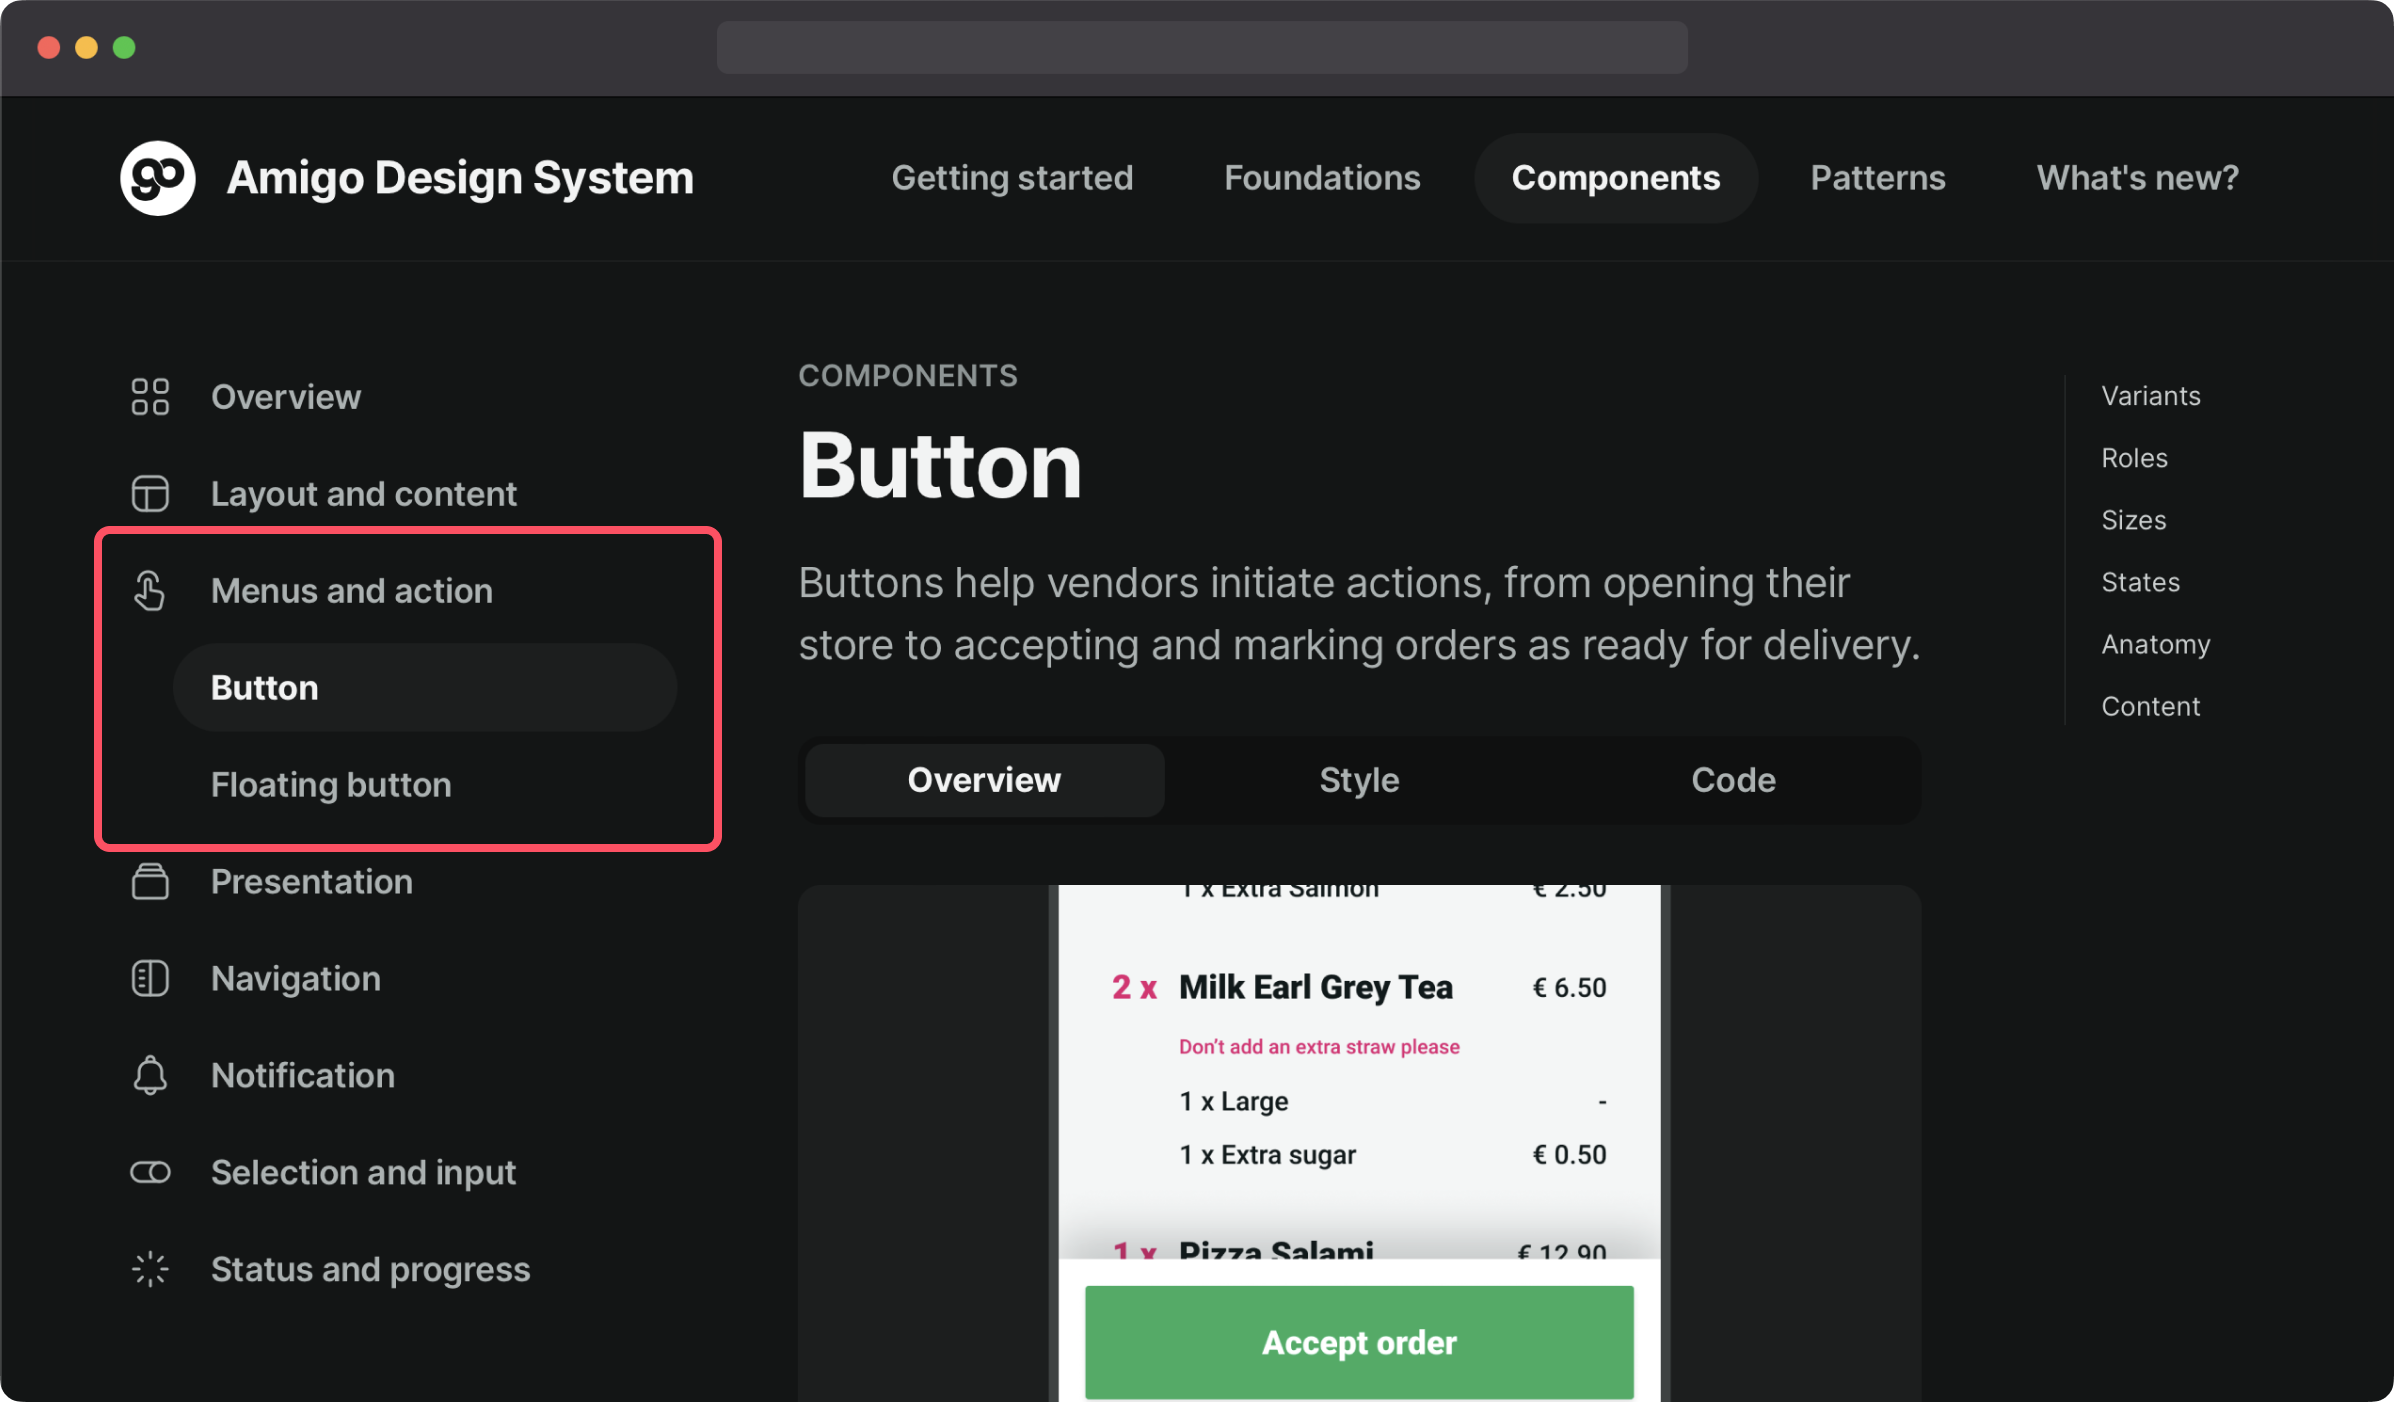
Grouping pages
Grouping pages is a good way to organise similar content on the sidebar and make it easier for viewers to explore the documentation.
Creating a group
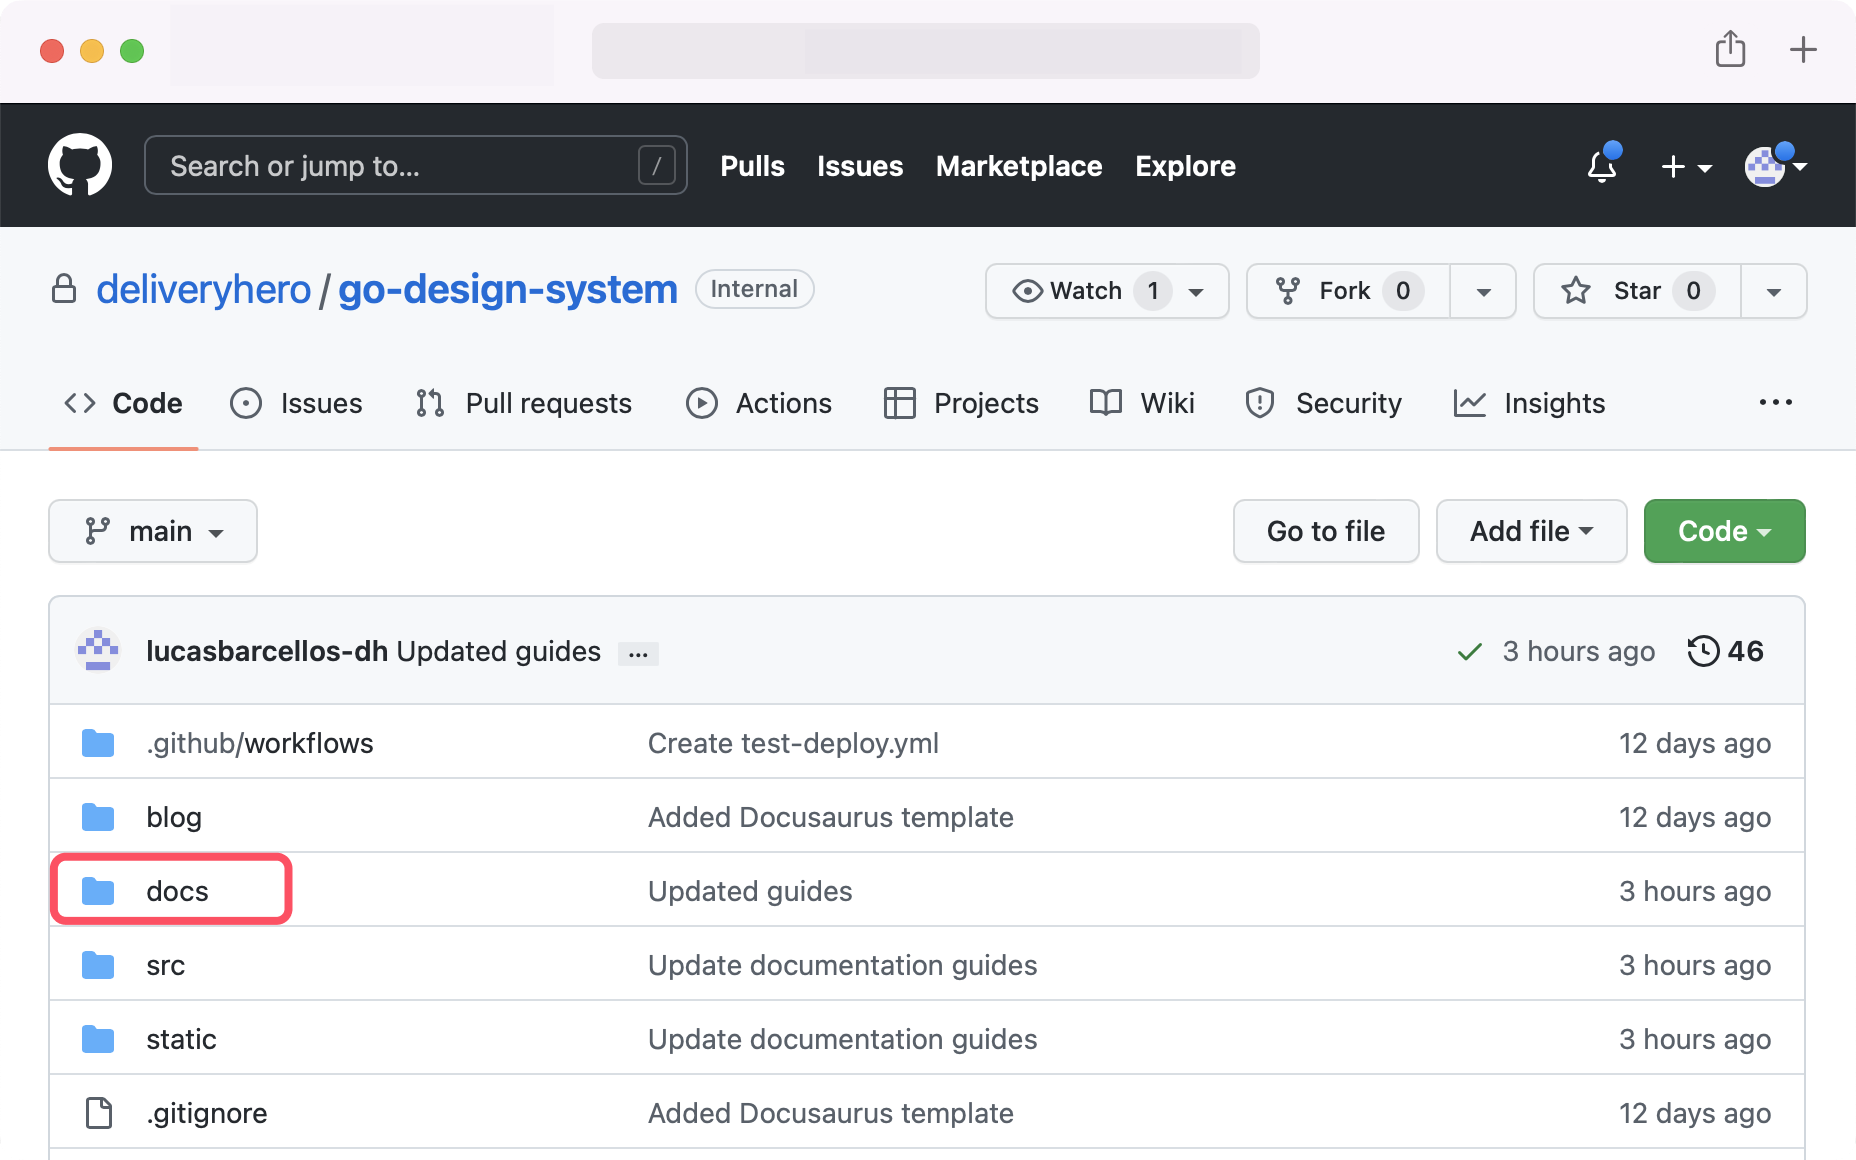
Open the docs folder in the design system repository.
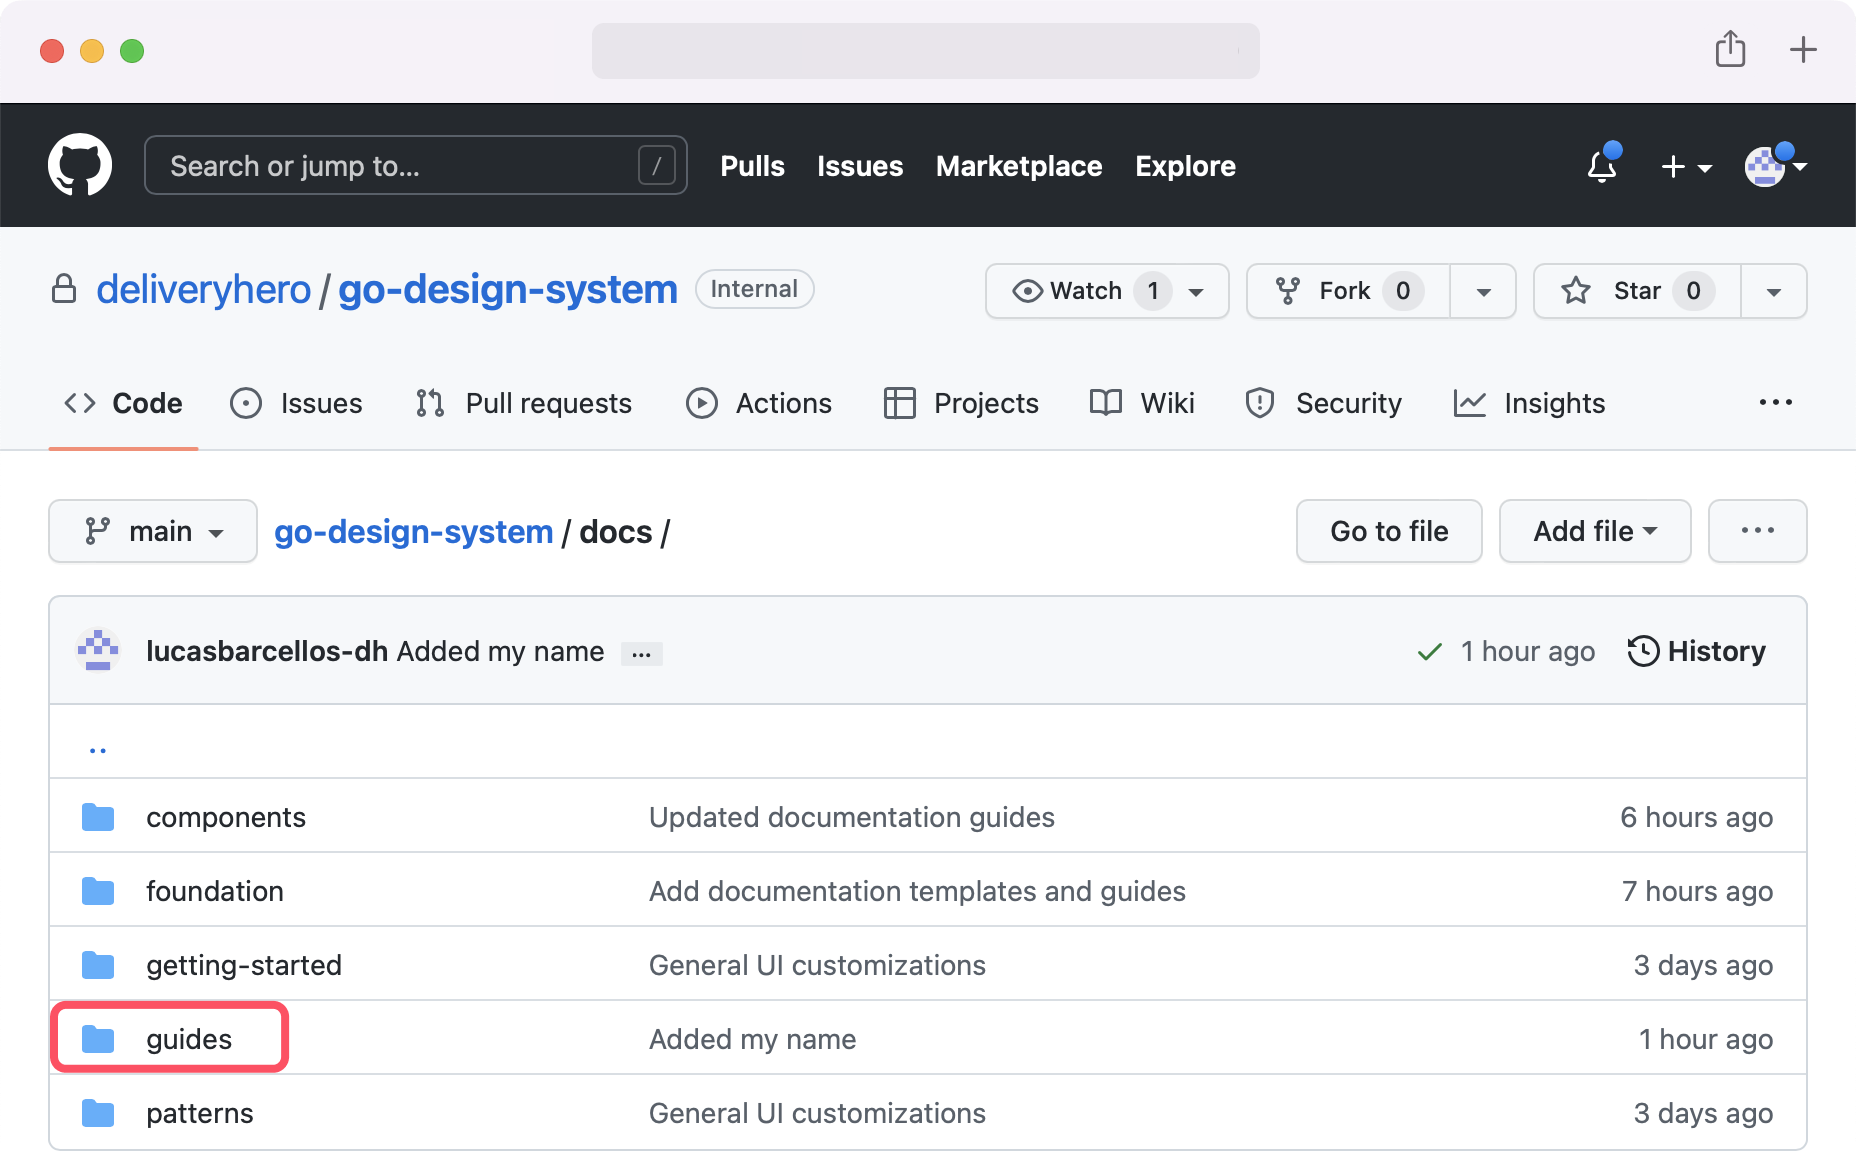
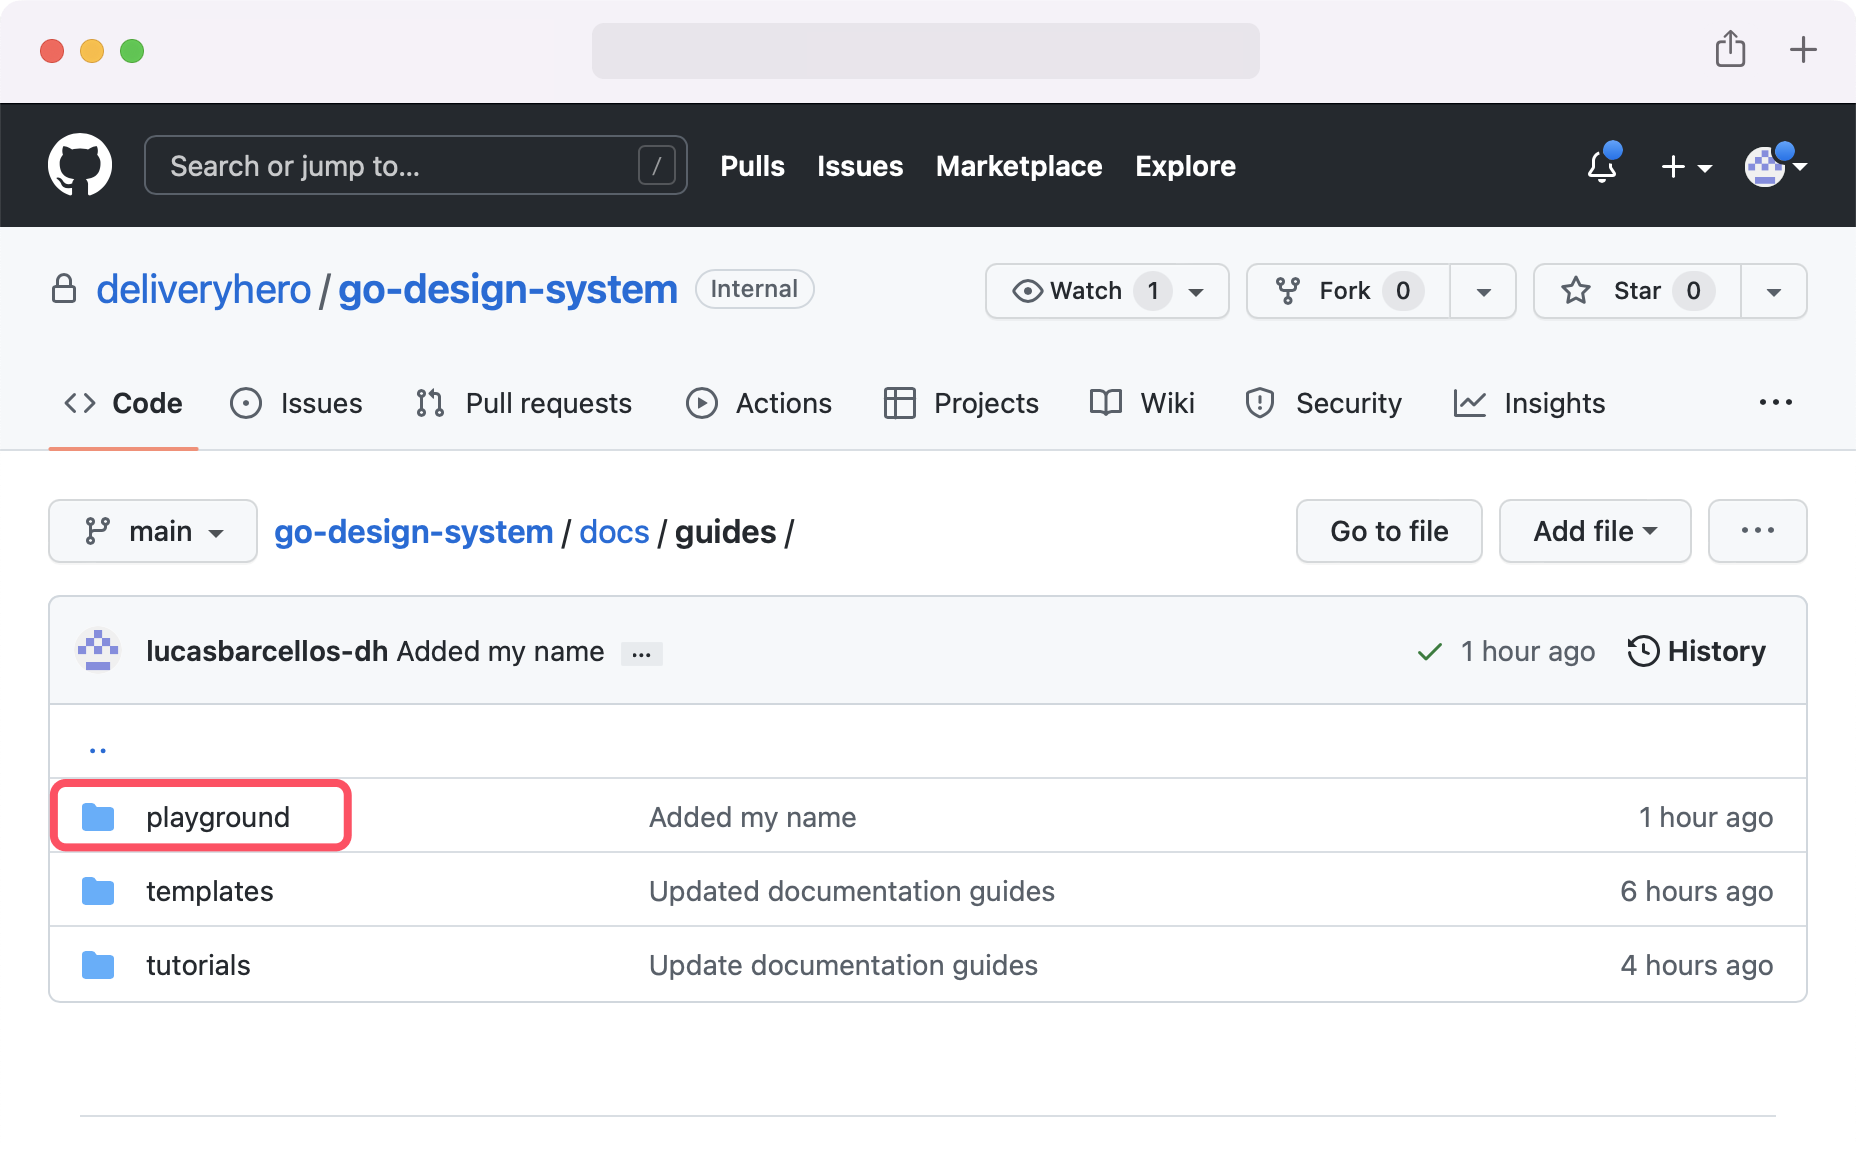
For this tutorial, we will create a group of pages in the Playground space: navigate to "guides" and then to "playground".
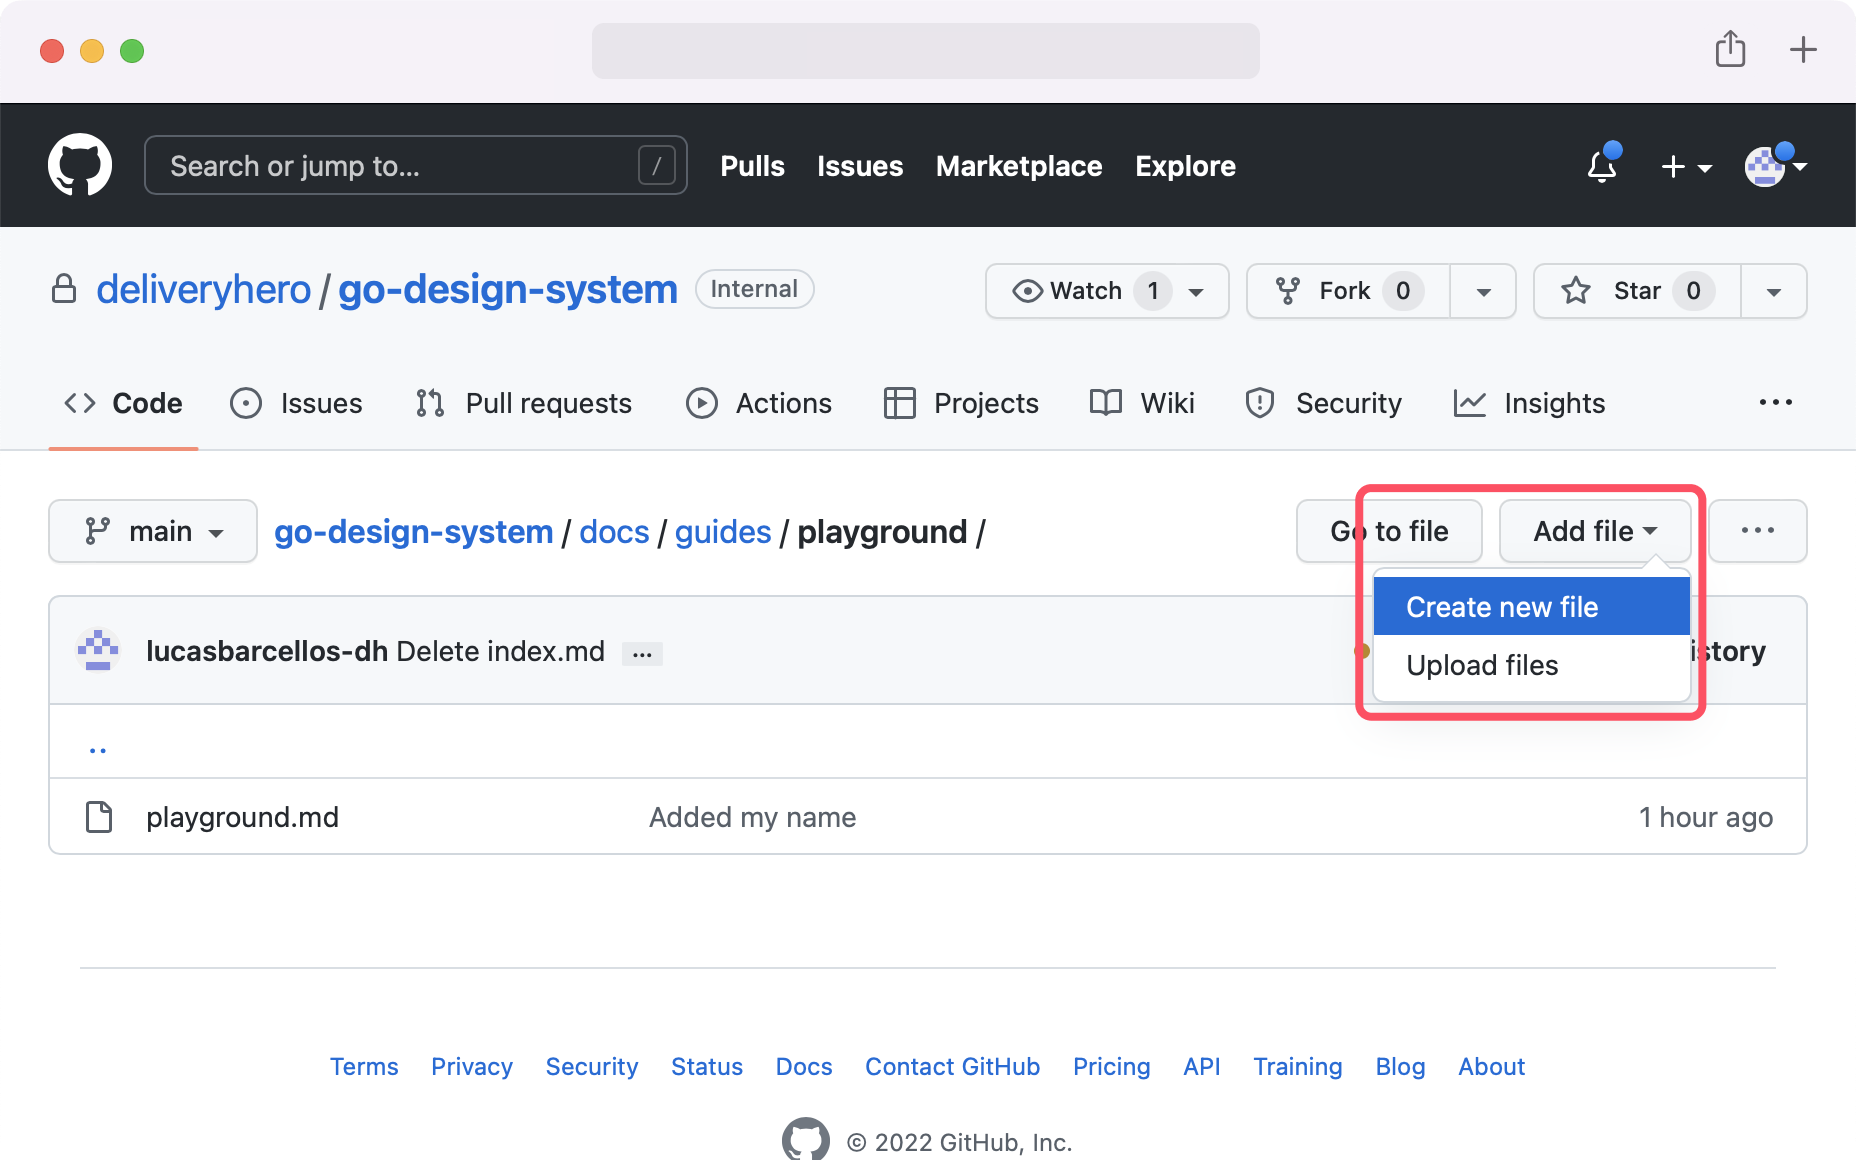
Click "Add file" and then "Create new file" in the dropdown menu.
Type the name of the new group followed by a
/. This will create a new folder inside the "playgrounds" folder. In the text field that just appeared, type the name of your page (remember to add ".md" at the end).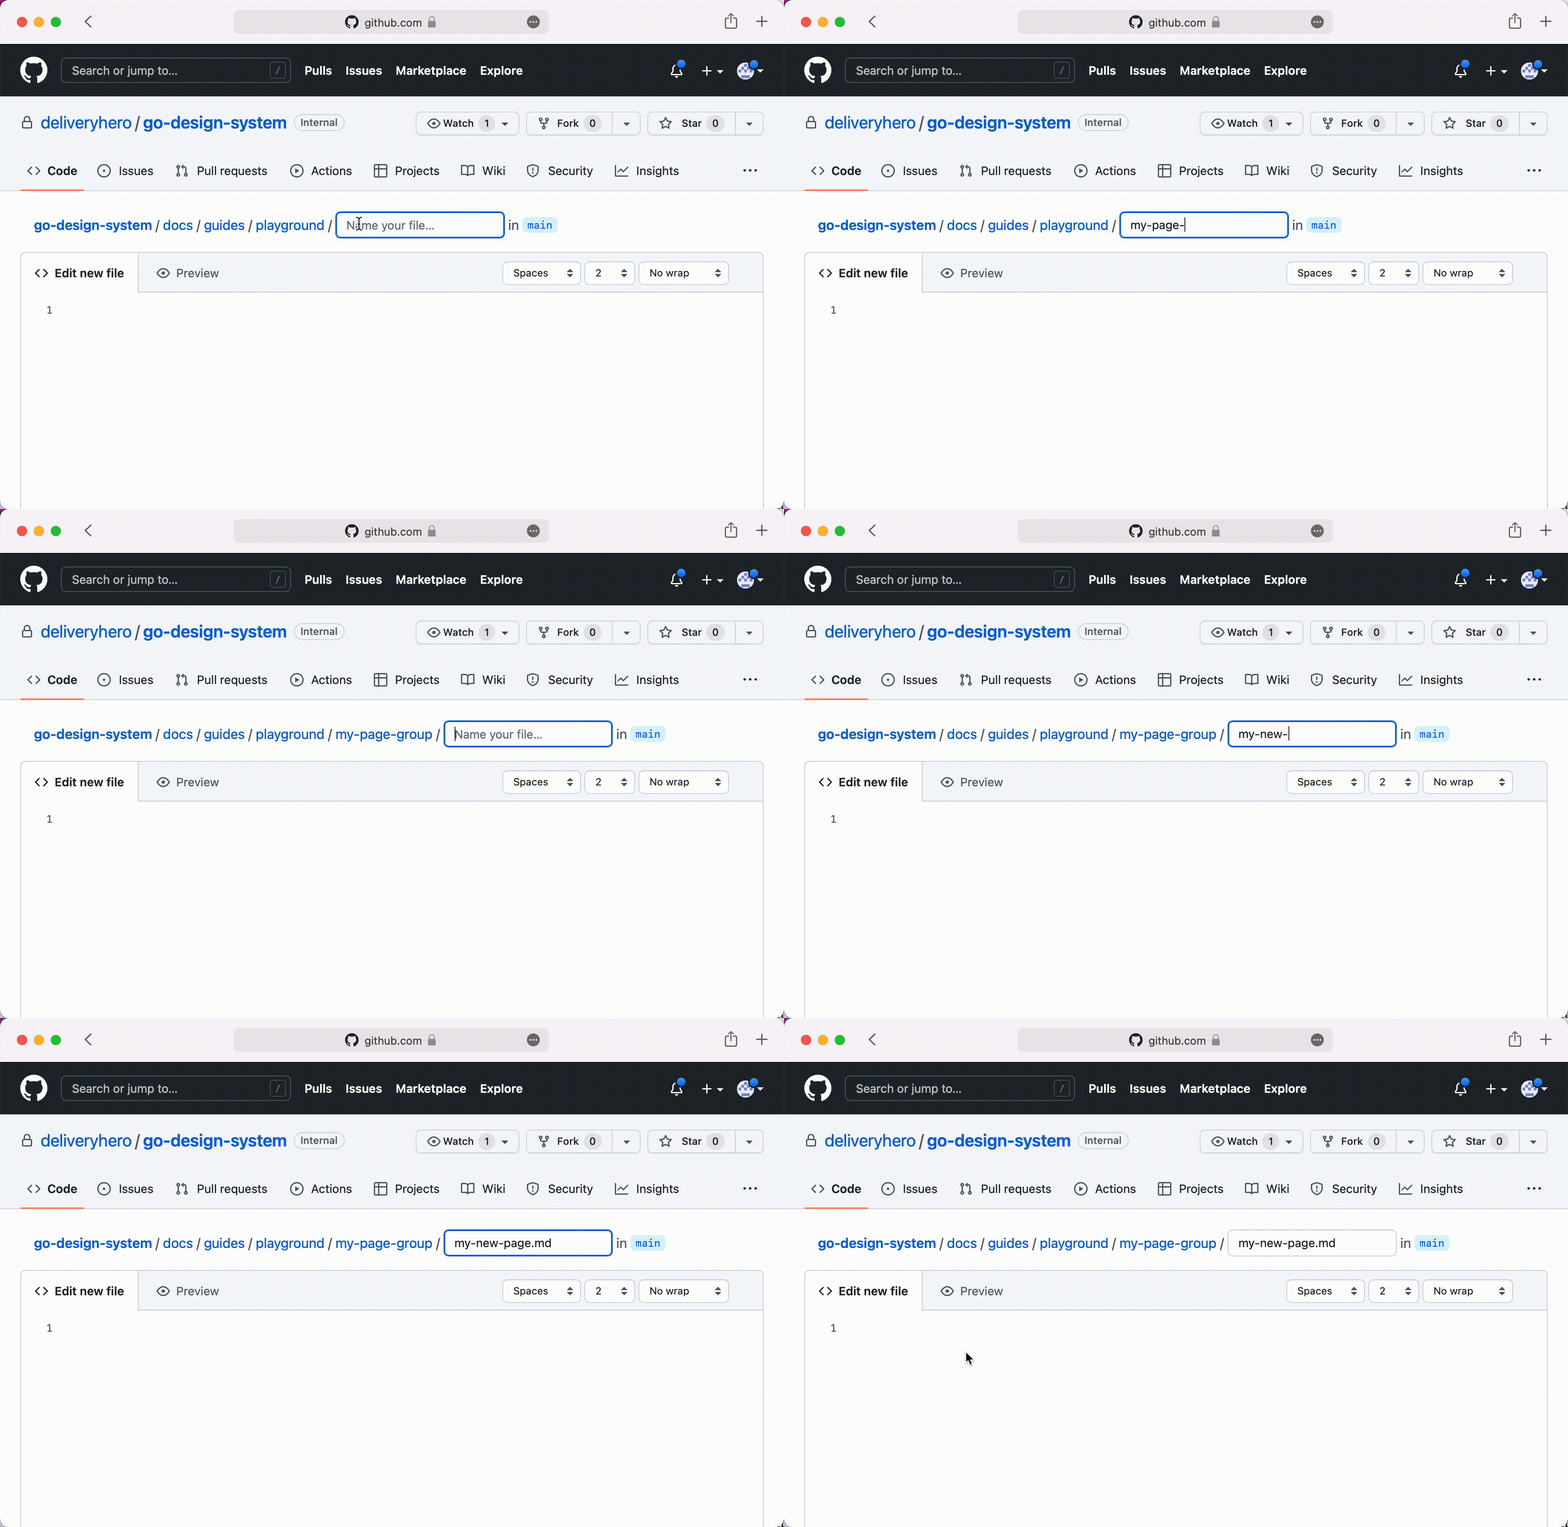
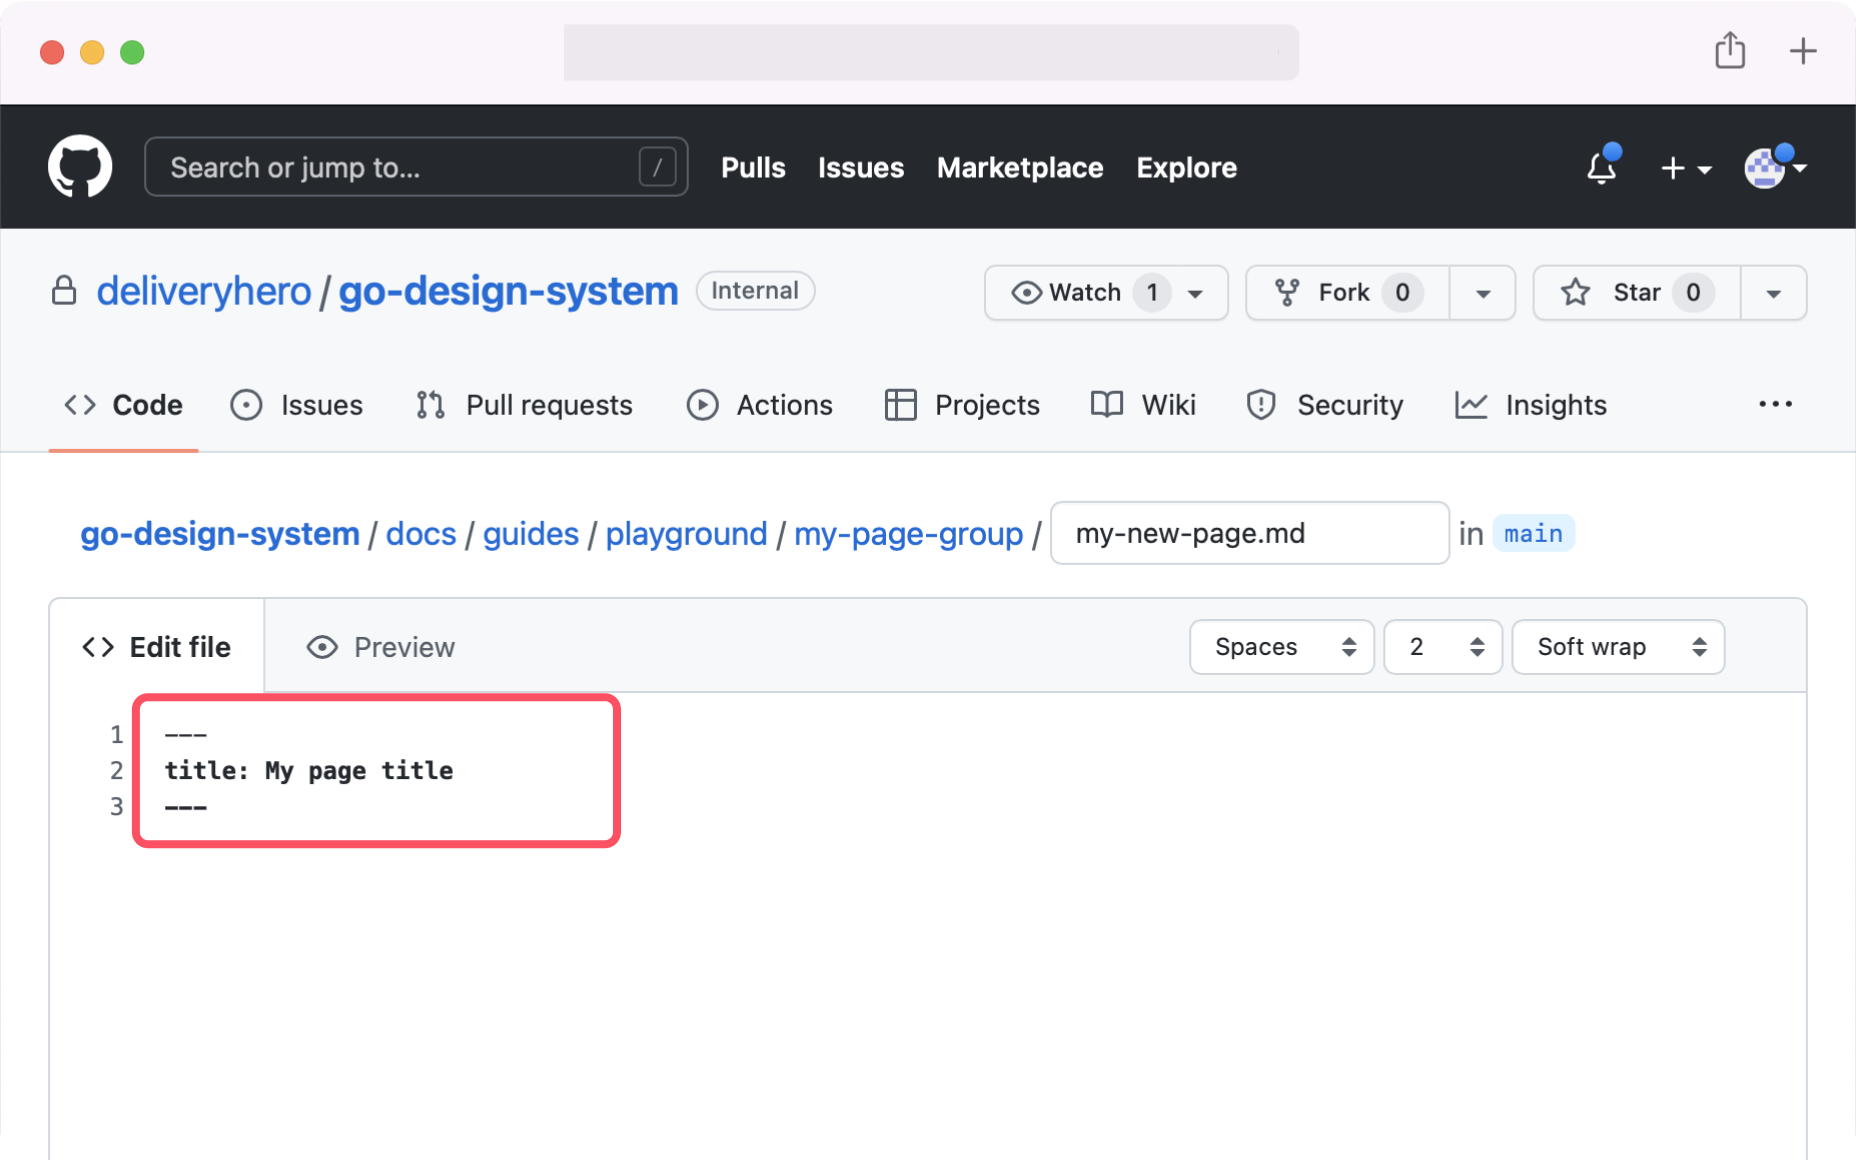
In the Markdown editor, copy and paste the following header to your document. You can change the "My page title" to anything you like.
---
title: My page title
---
Then add some content to your new document.
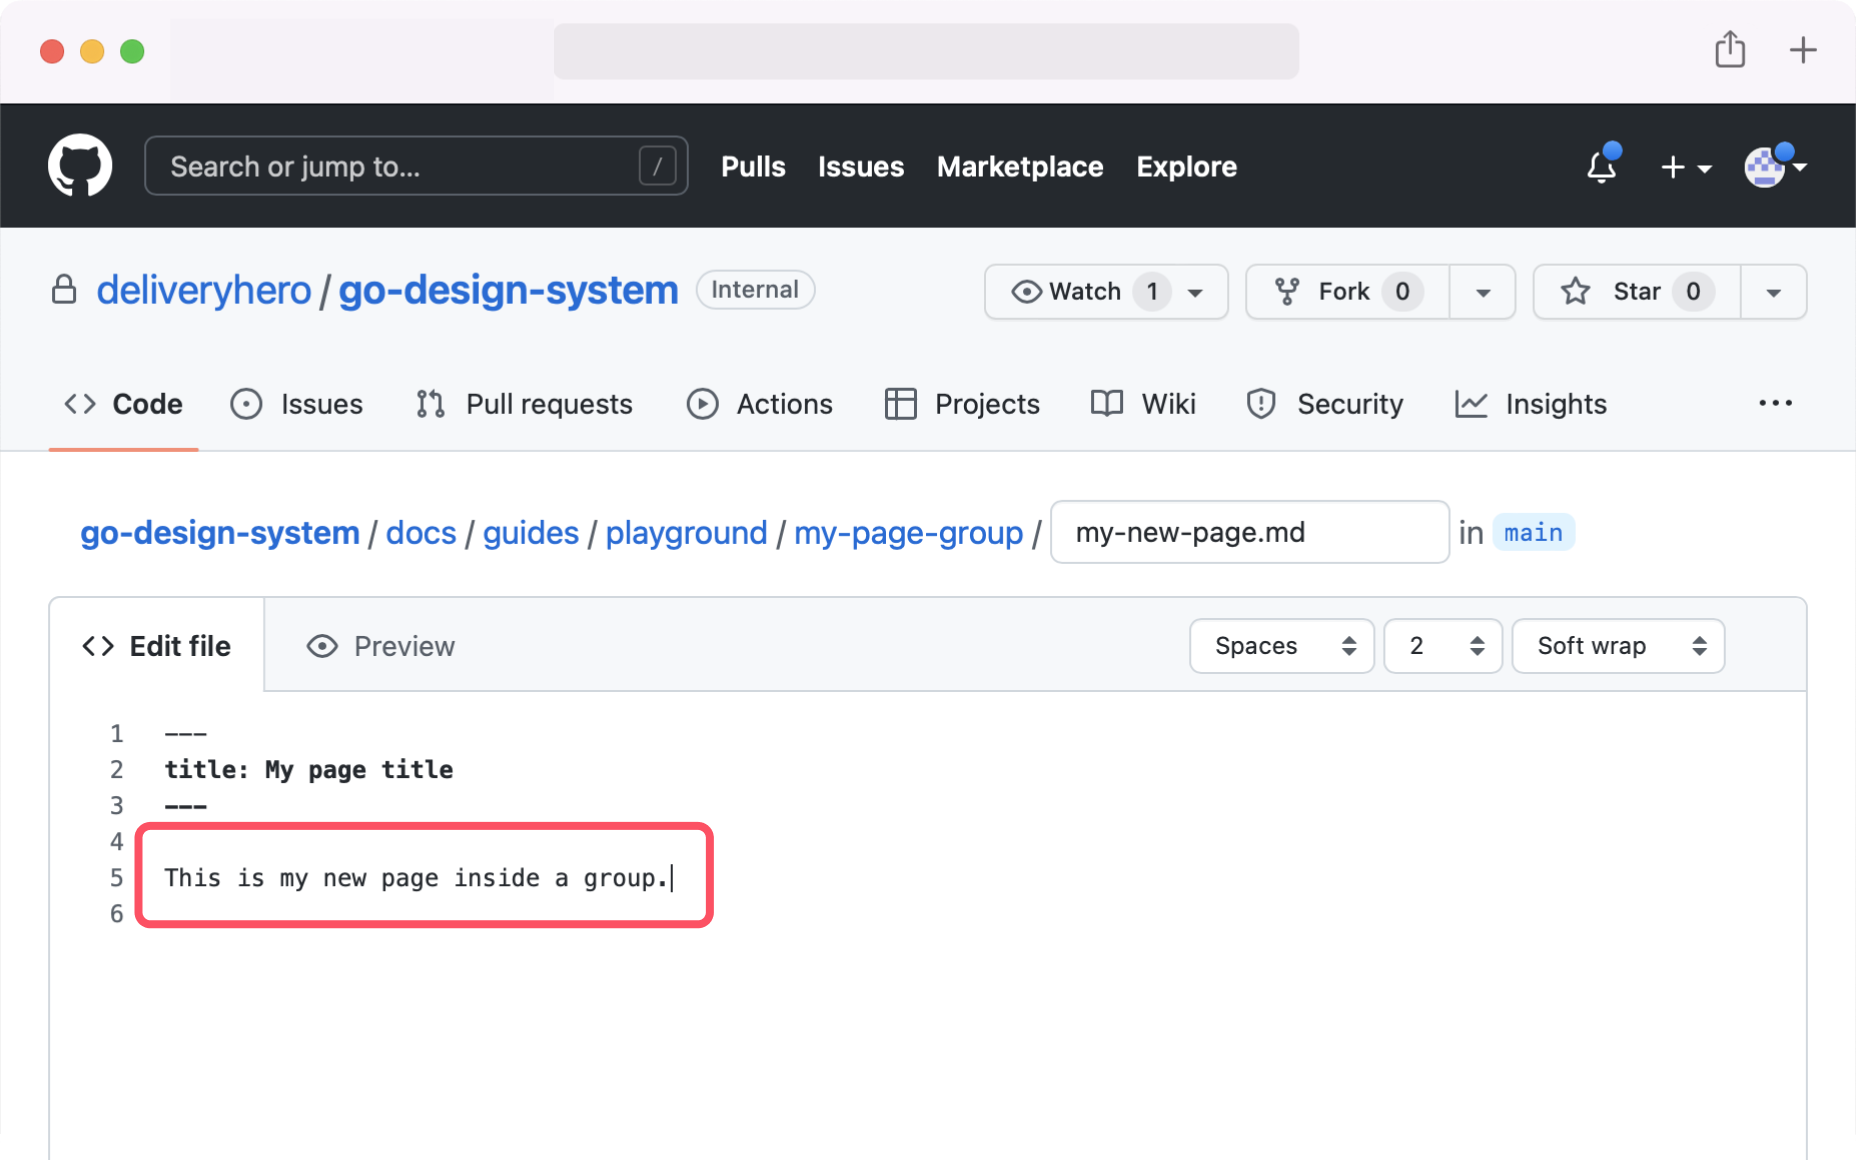
When you're done, scroll down to commit your changes.
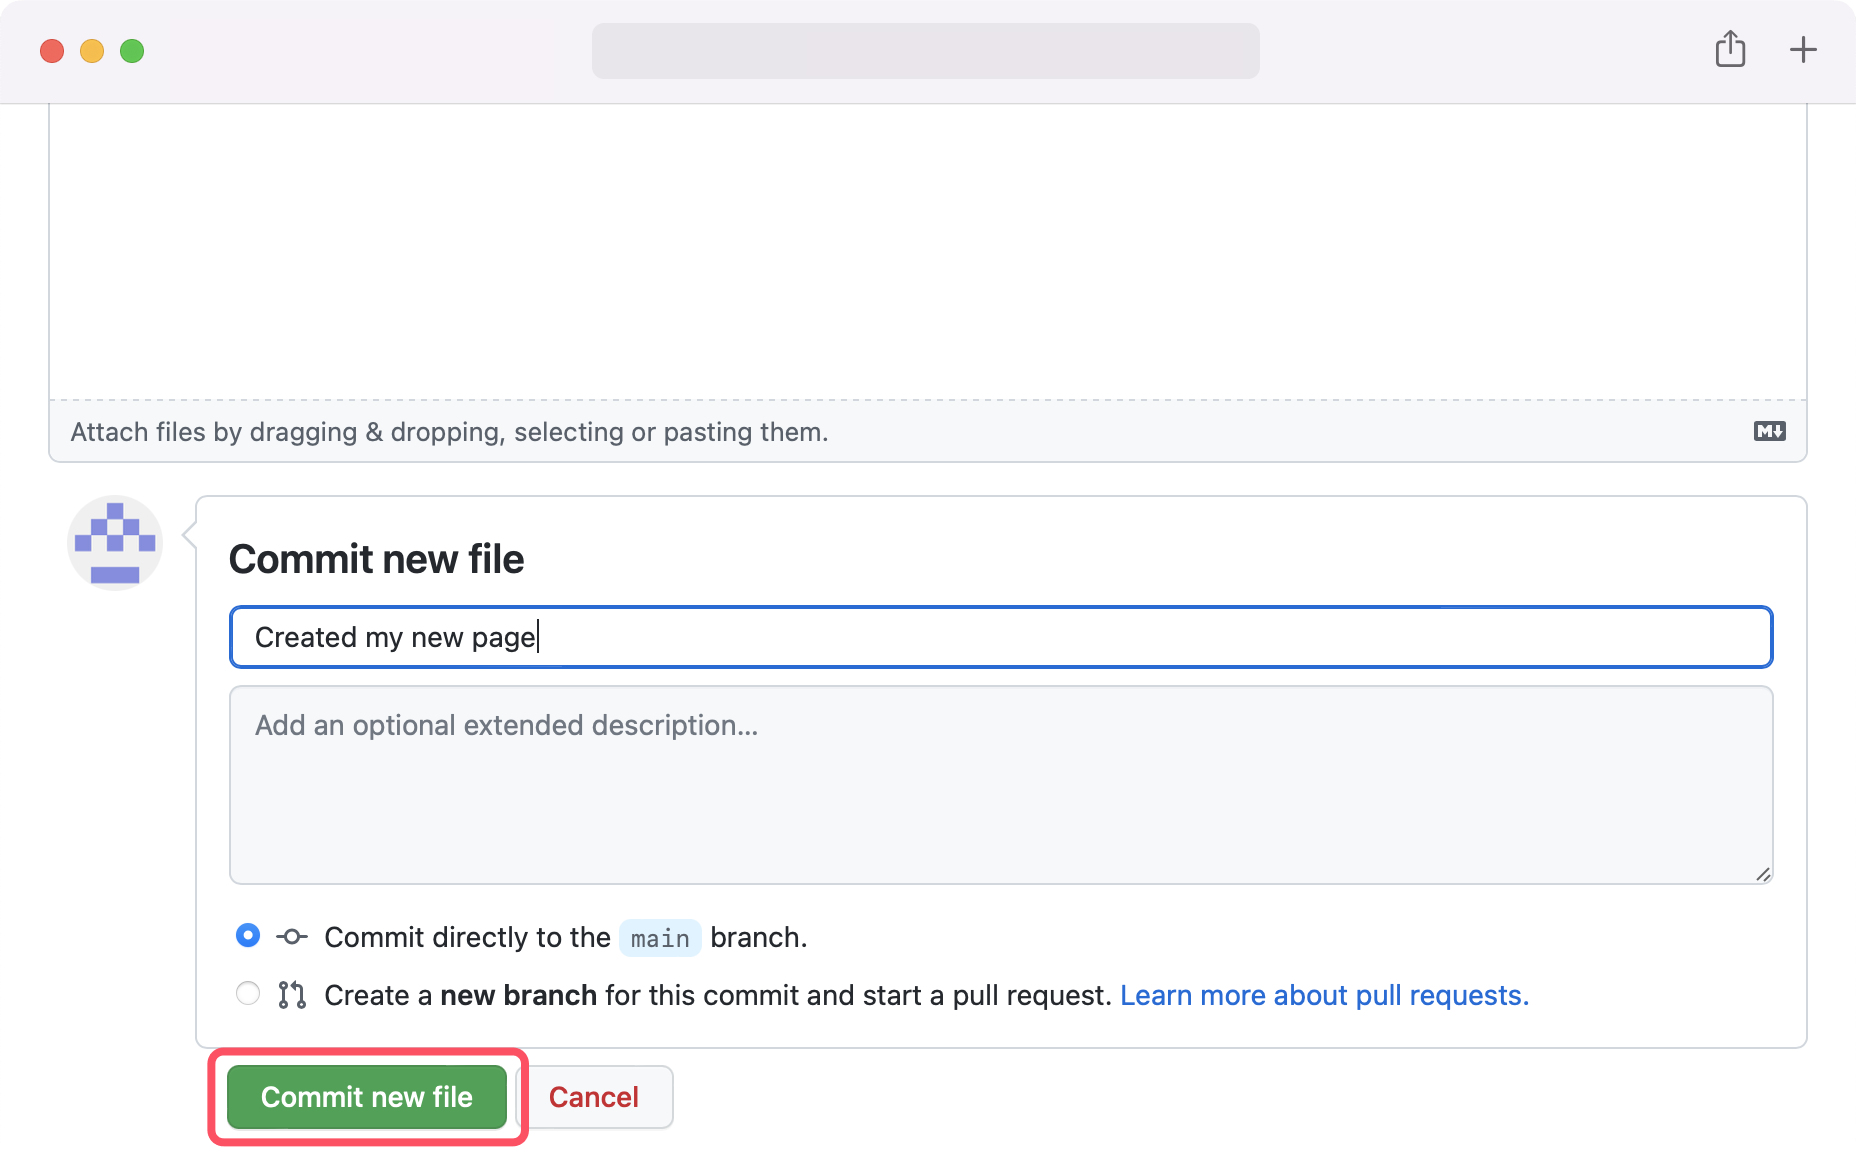
Giving the group a name
You've created a new group and a page inside it, but your group doesn't have a name yet. To solve this, click "Add file" and then "Create new file".
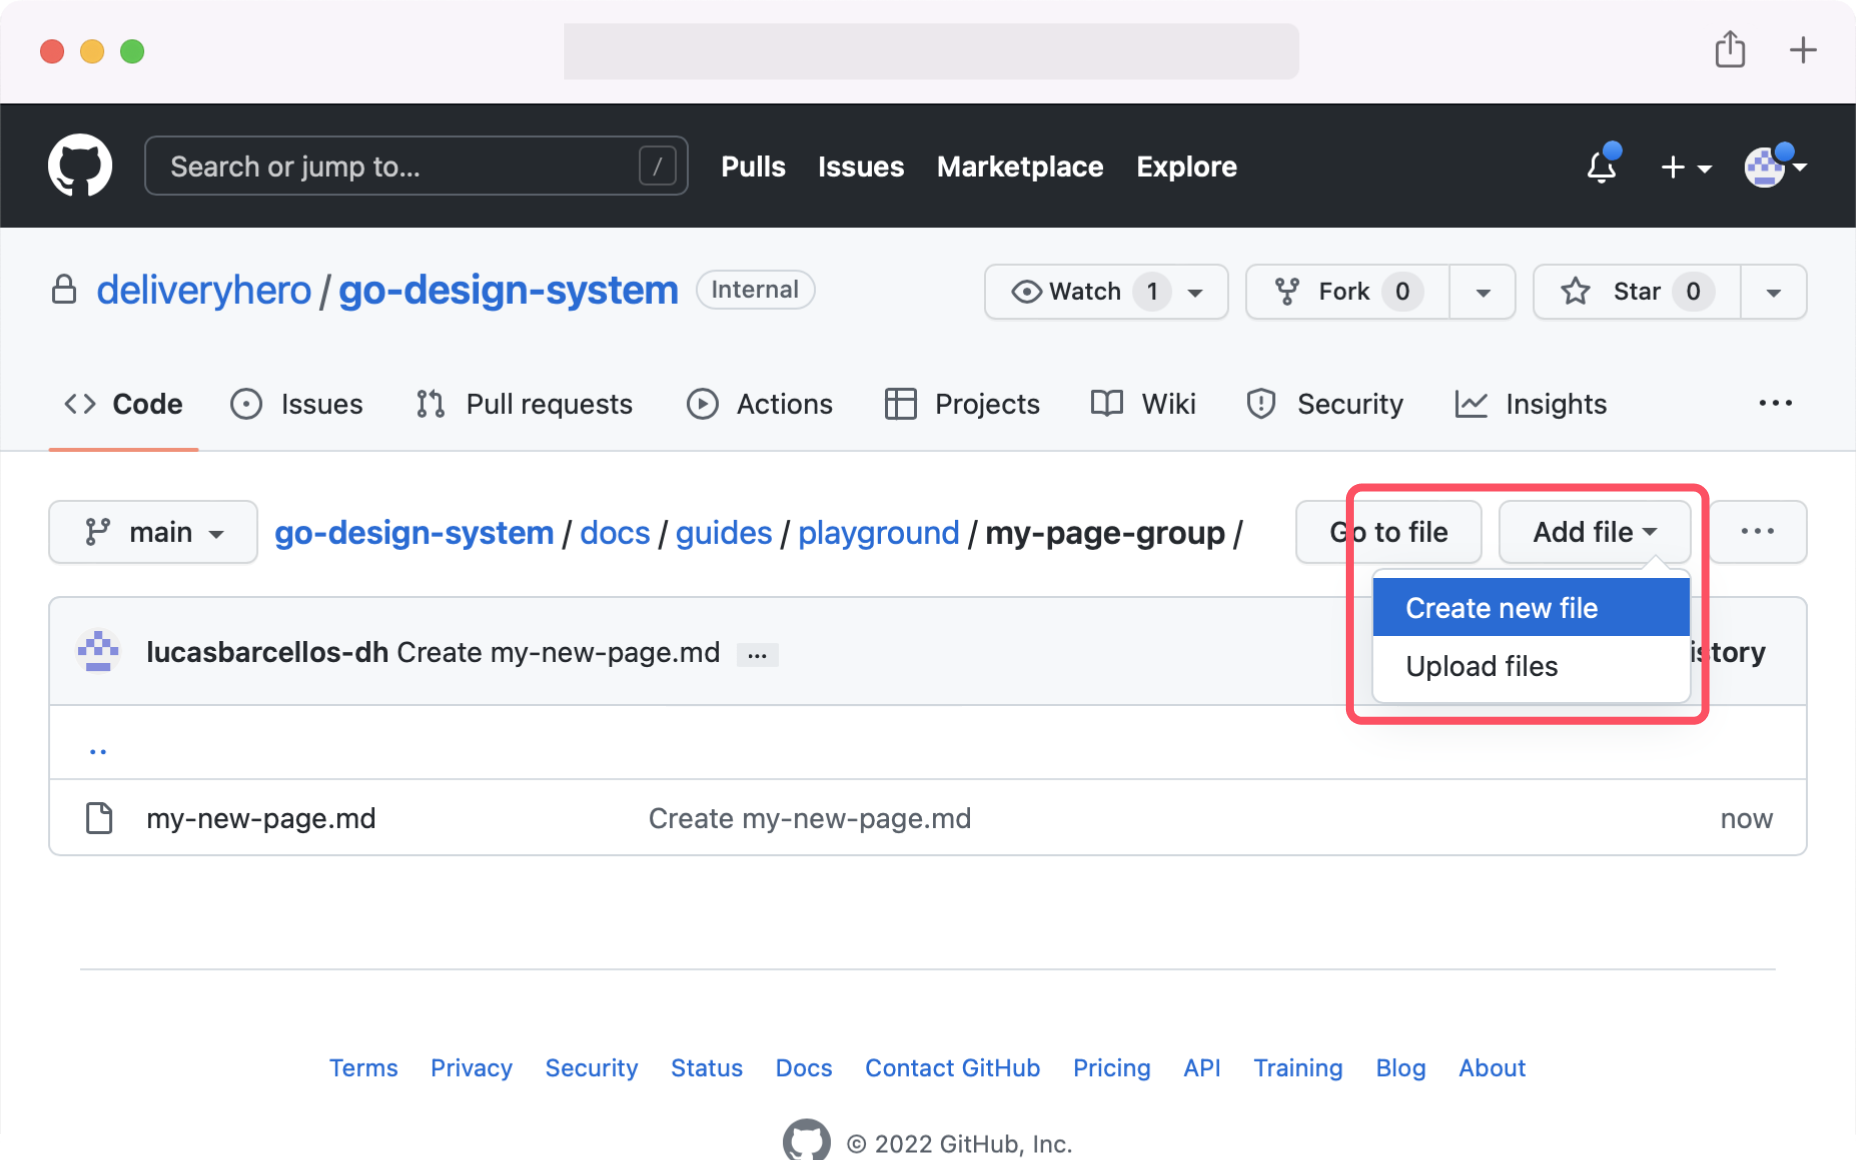
Name the new file
_category_.json. This is where we'll define our category name other things.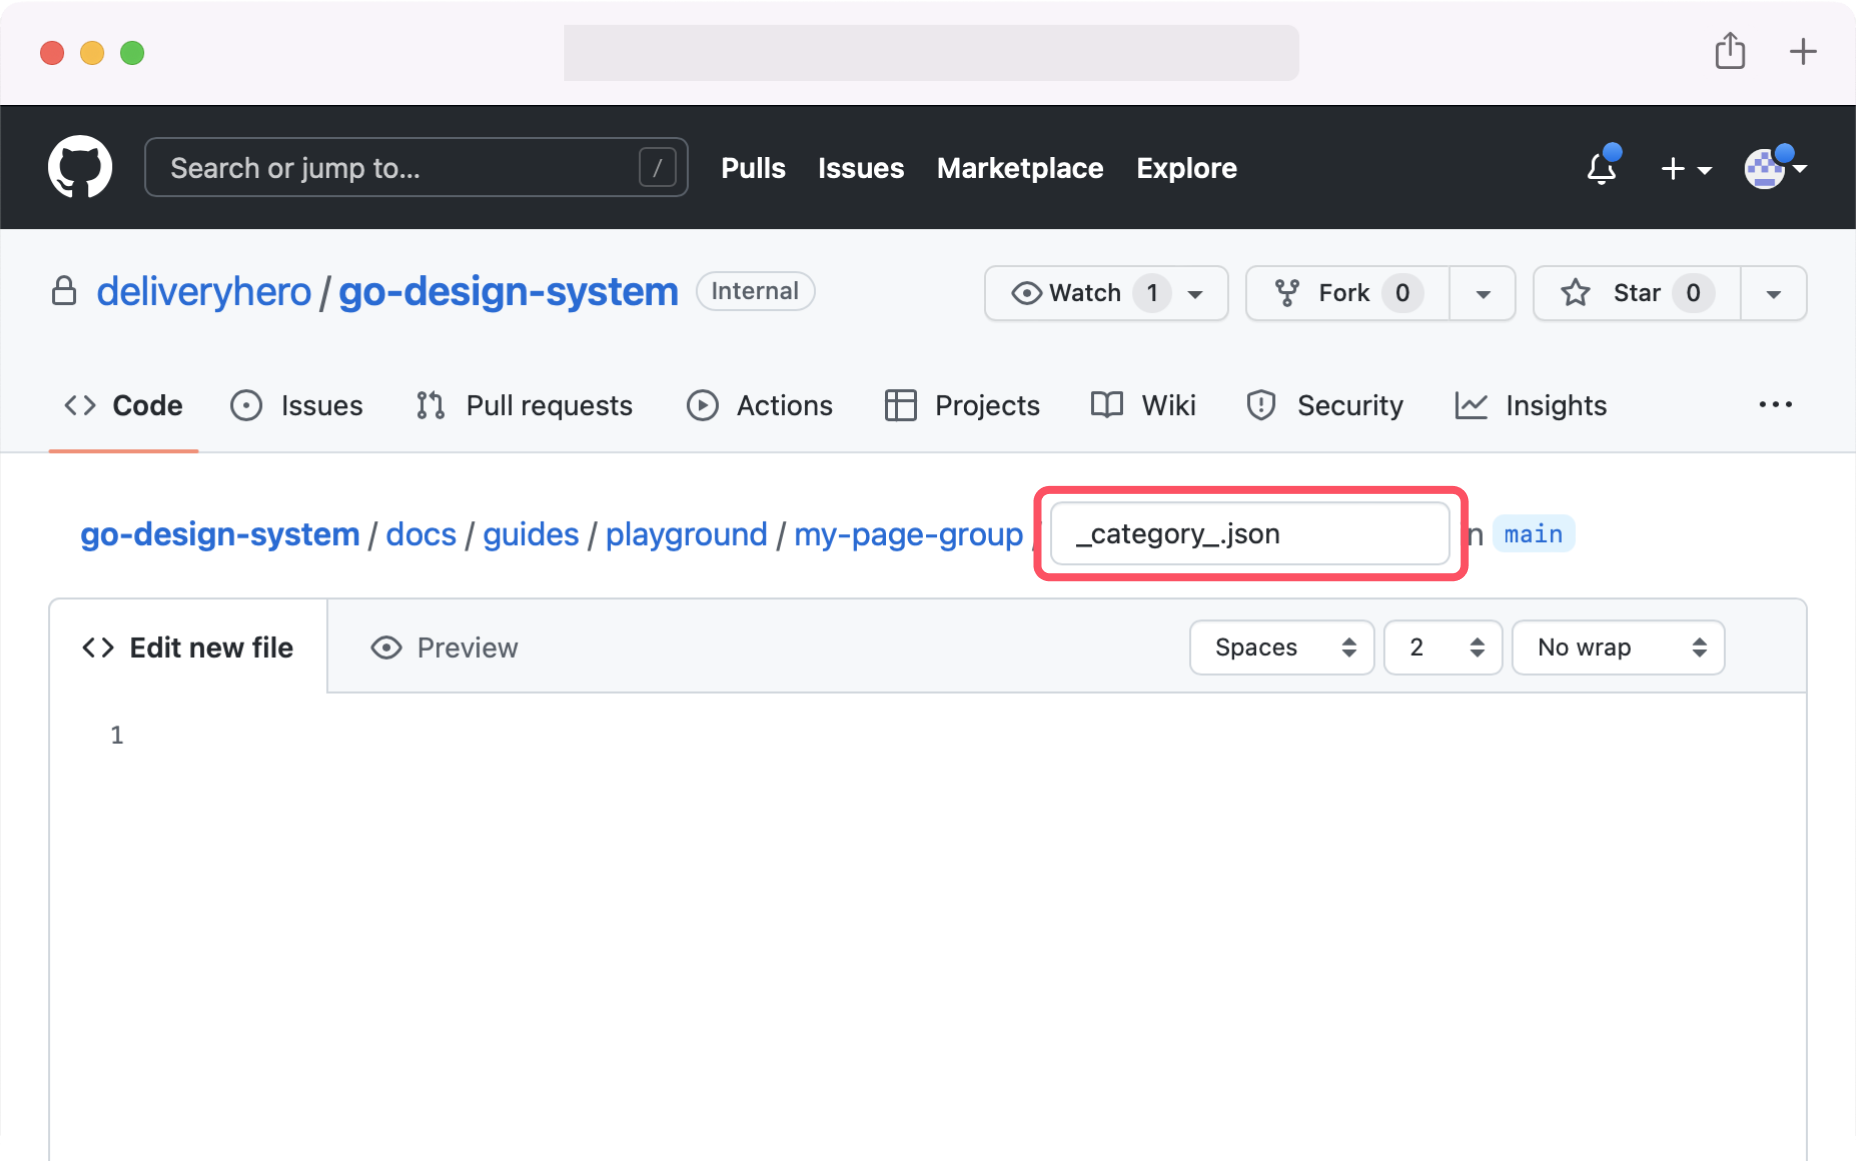
Now copy and paste the content below to
_category_.json.{
"label": "Your group name",
}The value for
labelwill be the name of the group in the sidebar. You can change it to anything you like.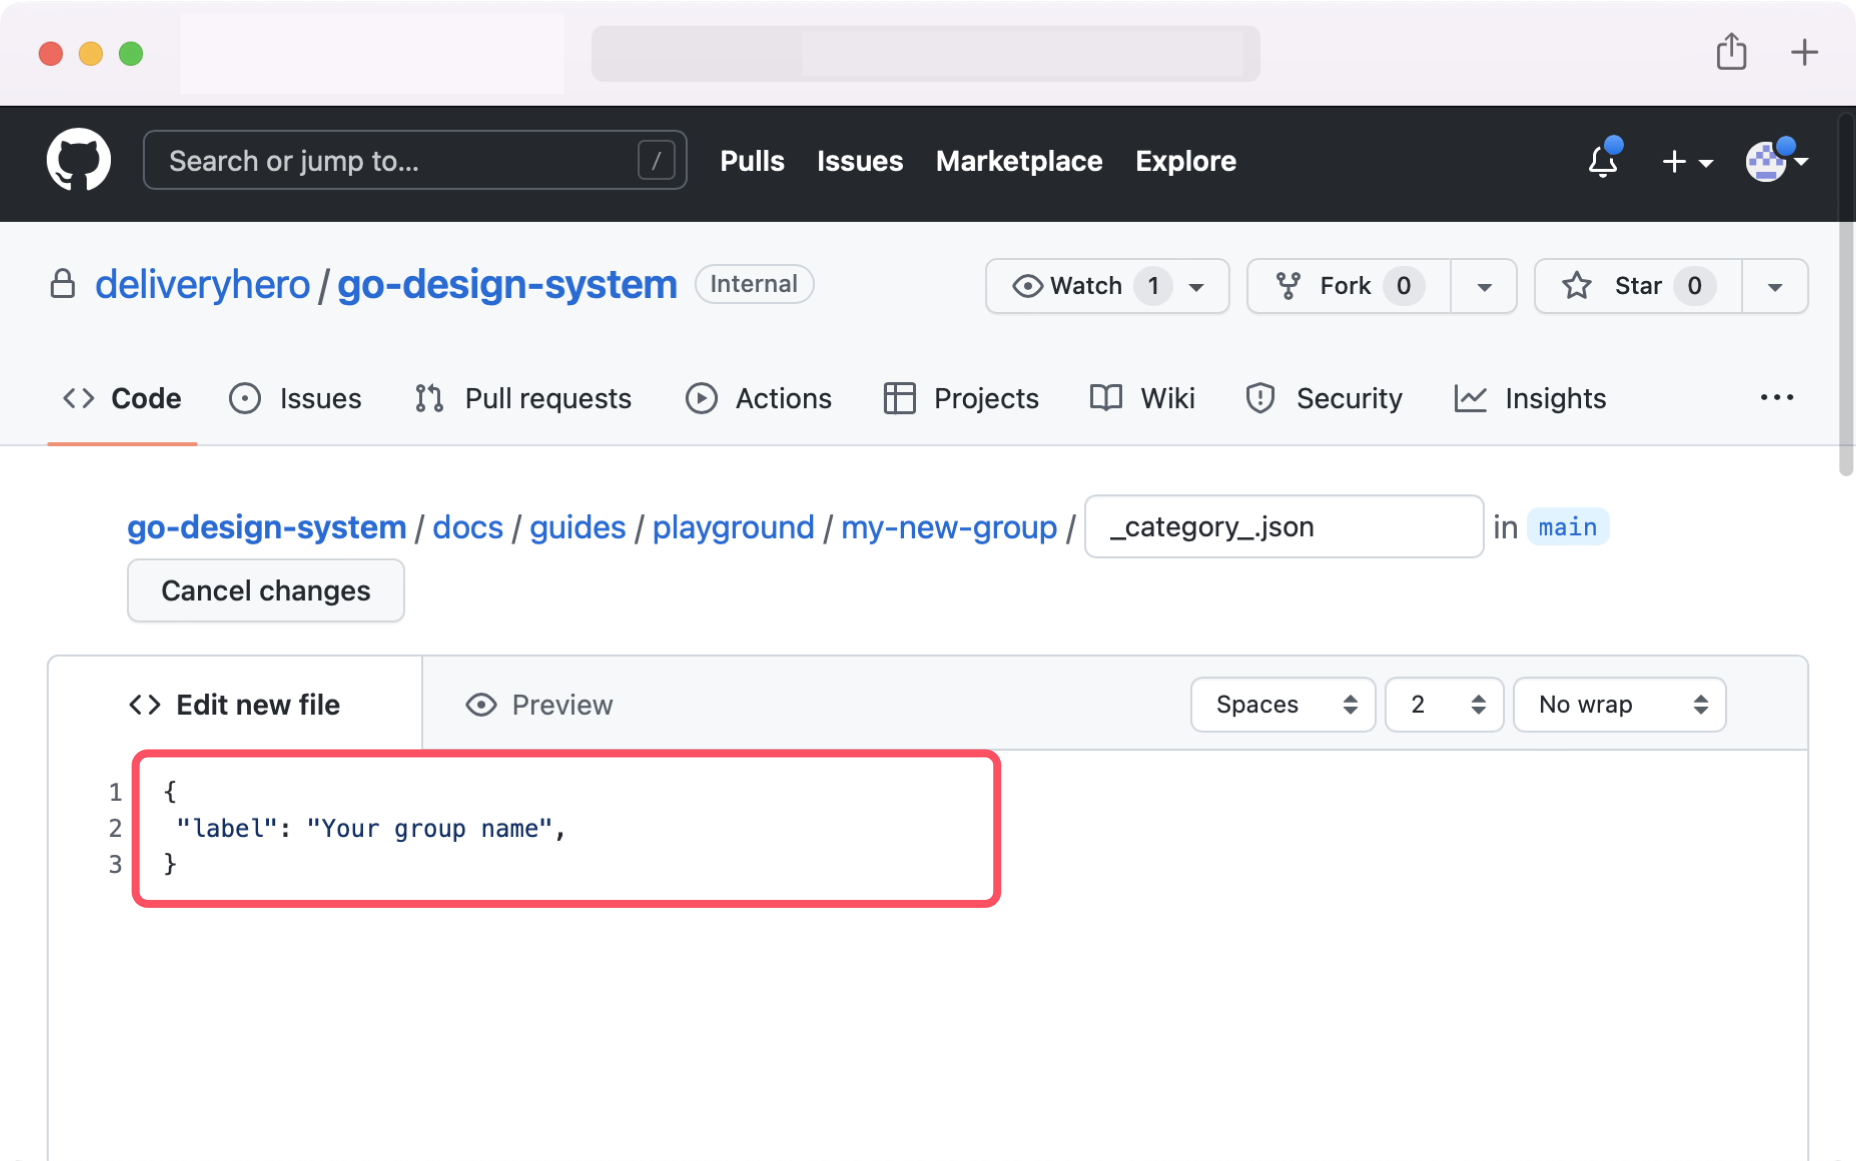
To finish, scroll down to "Commit new file" and commit the
_category_.jsonfile.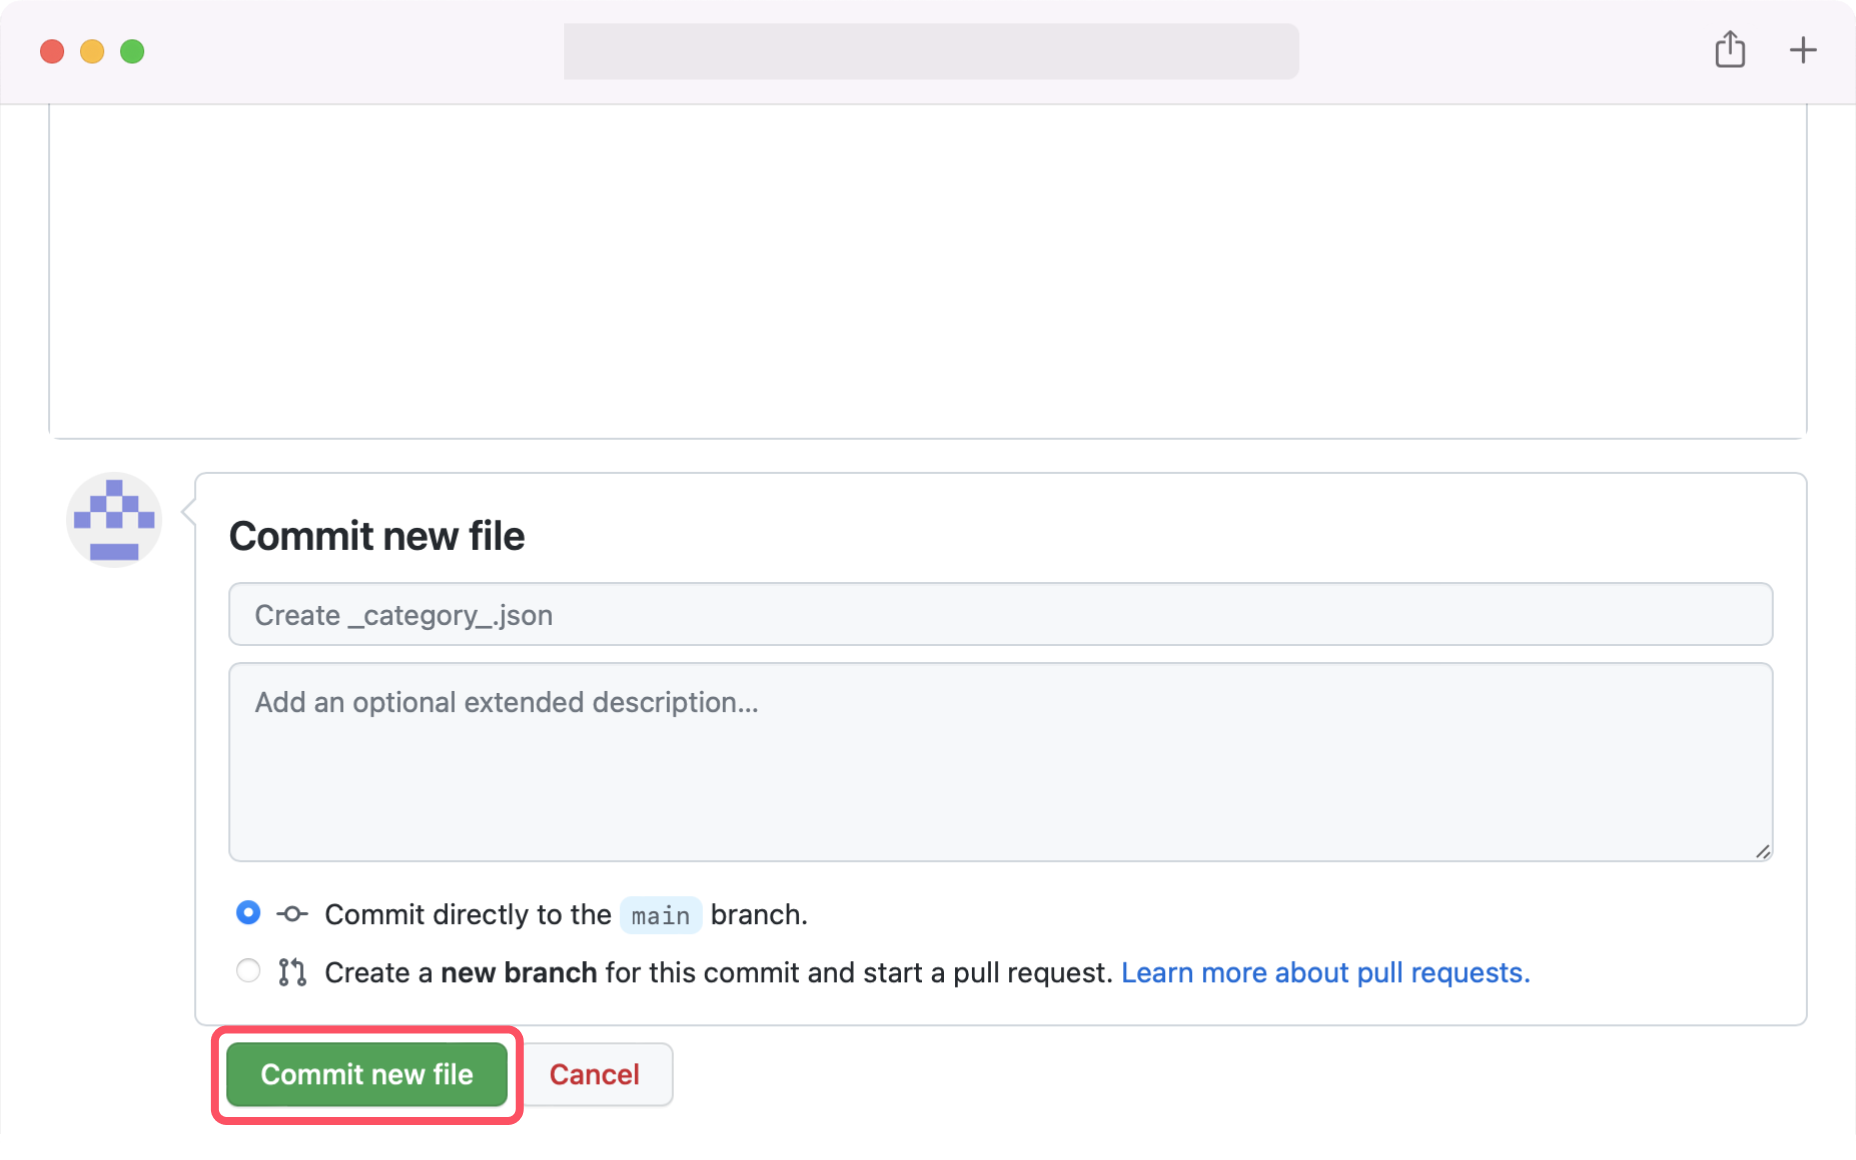
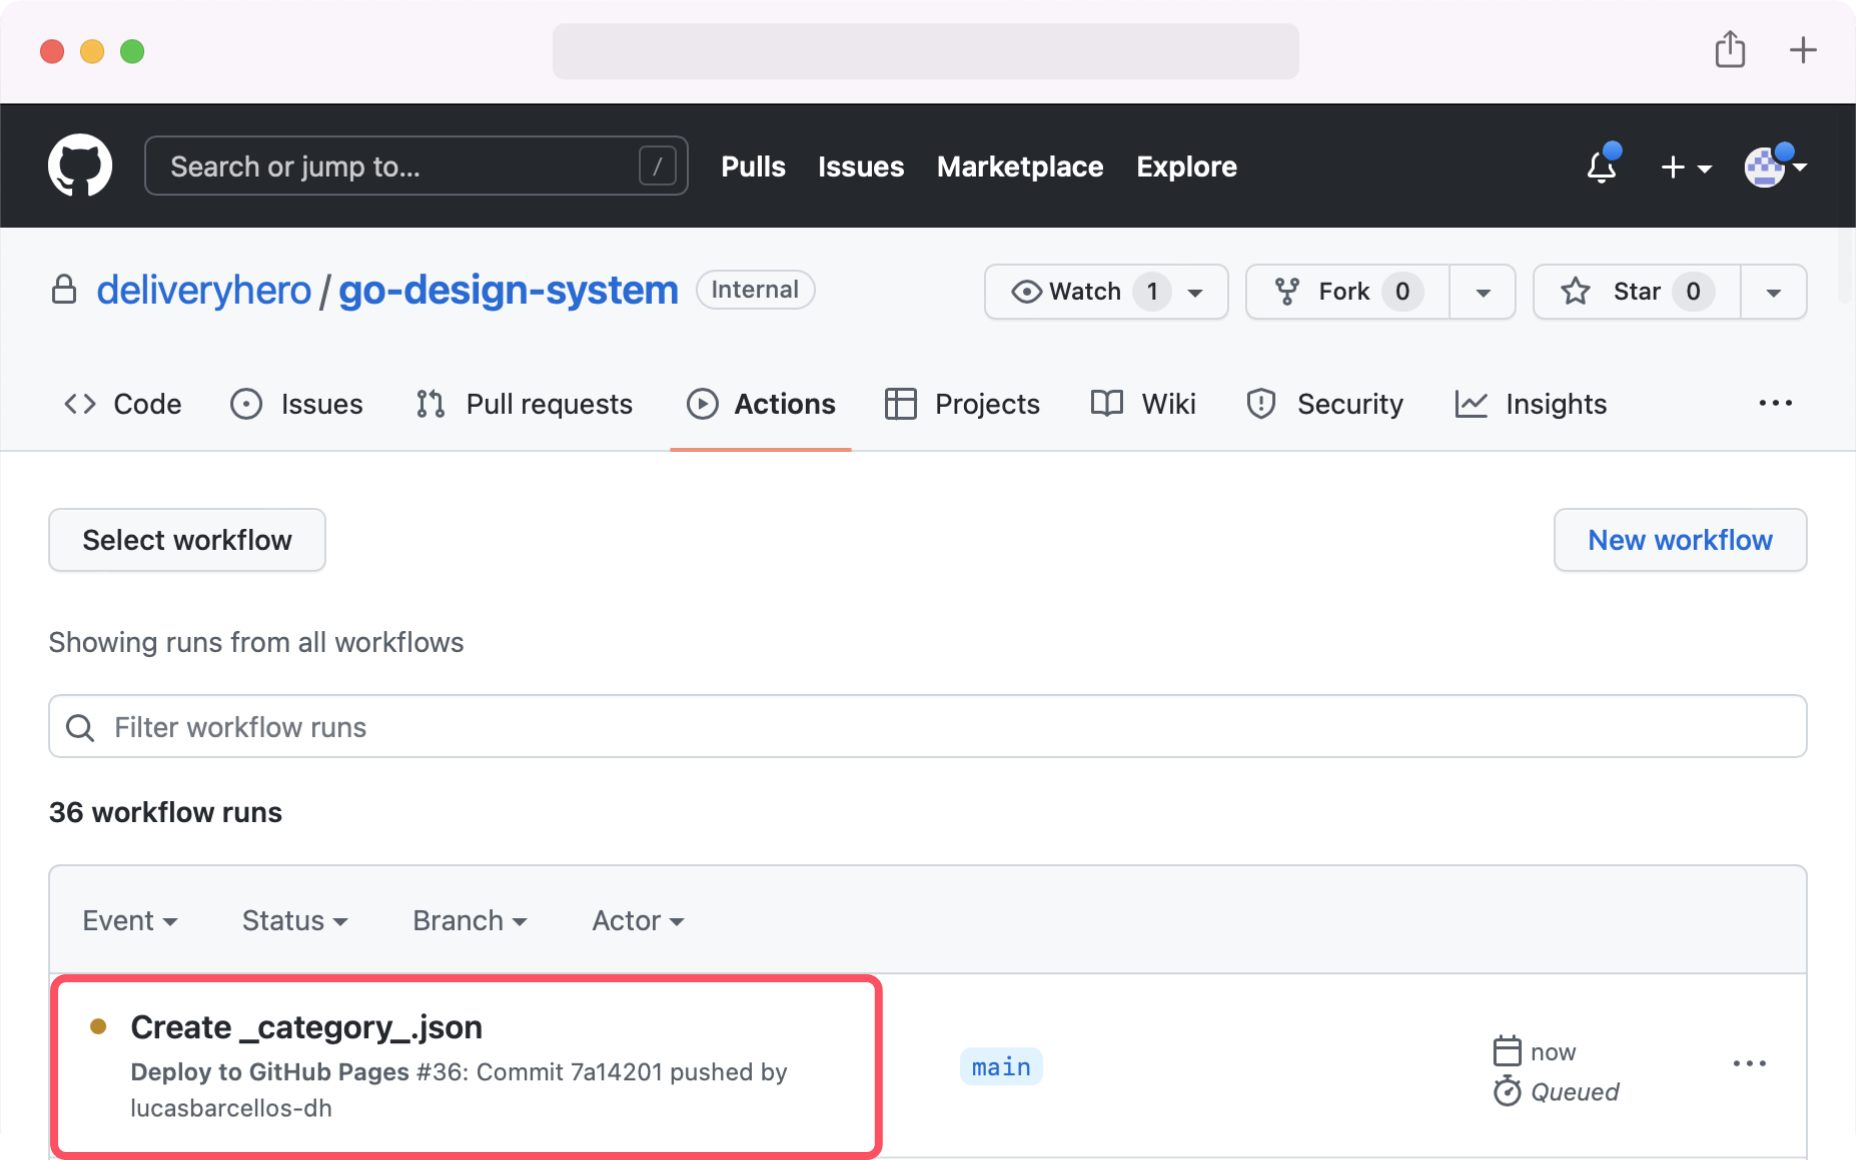
Well done! Your changes will take a couple of minutes to be published. You can check the progress on the Actions tab in GitHub.
